

Adding Popify Sales popups to your Wix online store
To add Popify sales popups to your Wix online store, make sure your site has a domain and a Wix Business Premium plan, then add the Popify Sales Popups app from the Wix App Market. You land in the Popify dashboard, where you create your first recent sales popup. Popify on Wix has a free plan and paid plans.
Before you begin
Your Wix site needs a domain and a Business Premium plan. This is your Wix site plan, separate from your Popify plan.
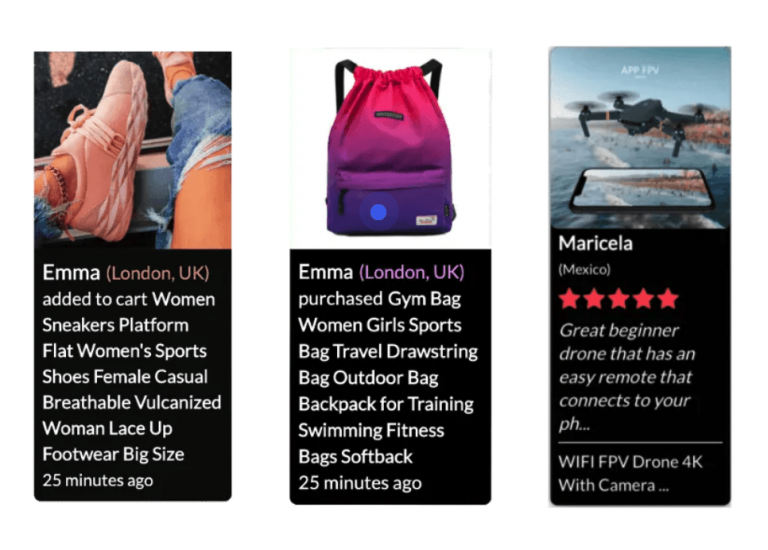
Recent sales popups show real orders, so your store needs at least one order before they have anything to show. See I don't have any sales yet.
Popify plans on Wix
Wix is the only platform with a Popify free plan: 1 active popup, 1,200 monthly unique visitors, the "Powered by Popify" badge, the default design and limited templates. Paid plans start with a 3-day free trial and add unlimited active popups, all templates, full design customization and removal of the badge. See pricing and why upgrade.
Step 1 | Add the Popify Sales Popups app
Go to the Wix App Market:
Wix Editor: Click App Market
 on the left side of the Editor.
Editor X: Click the Apps icon
 on the top of the Editor.
Type "Popify" in the search bar and select it from the results.
Click Add.
Click Allow and Add.
After adding the app, you are redirected to the Popify Sales Popups dashboard. There you can create popups from ready-to-use templates and customize them. You can also install from the Popify app page, as described in how to install Popify on your Wix store.
Step 2 | Create your first sales popup
In the Popify dashboard, click New popup, choose the Customer activity popup type, set the pages and placement, adjust the design and click Launch. For the full steps with screenshots, see how to create recent sales popups in your Wix store.
More Wix guides
Need help? Contact us or email [email protected].